.webp)
.webp)

Secure Amazon RDS Snapshots: A Step-by-Step Guide
Learn how to secure Amazon RDS snapshots by finding and restricting public access to protect your data and ensure cloud security.
Learn how to secure Amazon RDS snapshots by finding and restricting public access to protect your data and ensure cloud security.


Amazon Relational Database Service (RDS) is a commonly-used web service for setting up, operating, and scaling relational databases for cloud-based web applications. If your RDS database instance has a DNS name resolving to a public IP address, it can be vulnerable to malicious attacks on the Internet.
To address this, you first want to find all of your RDS instances that are publicly accessible. You can read our step-by-step guide on finding and securing RDS instances.
Once you've finished securing your RDS instances, you should then find and secure any RDS snapshots that are publicly accessible.
RDS snapshots are a way to backup your DB instance so you can restore from it at a later point. It's worth noting that manually-created RDS snapshots won't expire automatically like automated backups do after a certain period. To prevent having your data from any RDS snapshots (old or new) vulnerable to being exposed, you can follow these steps:
You can choose between AWS Console and AWS CLI processes to check and remediate publicly accessible Amazon RDS database snapshots.
1. Log in to the AWS Management Console.
2. Find the RDS dashboard.
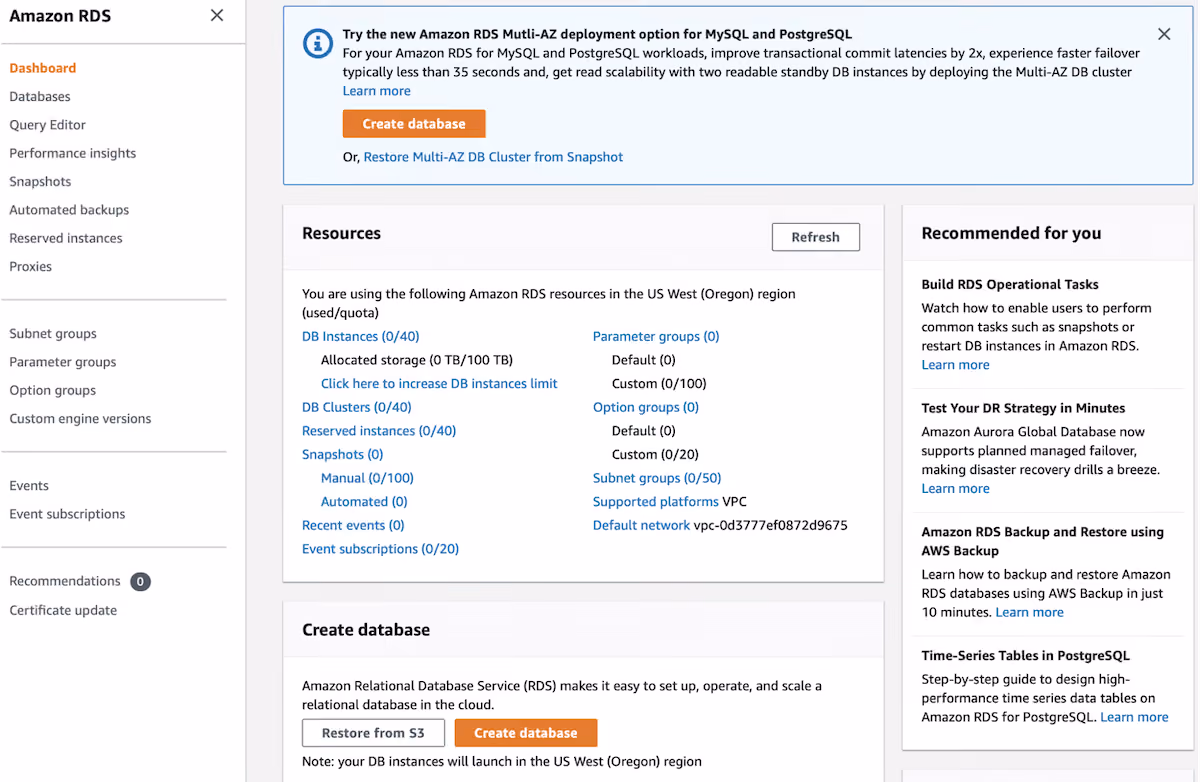
3. On the left menu panel, under "Dashboard," click "Snapshots."

4. Click the "Snapshot name" of the Amazon RDS database snapshot to be checked.
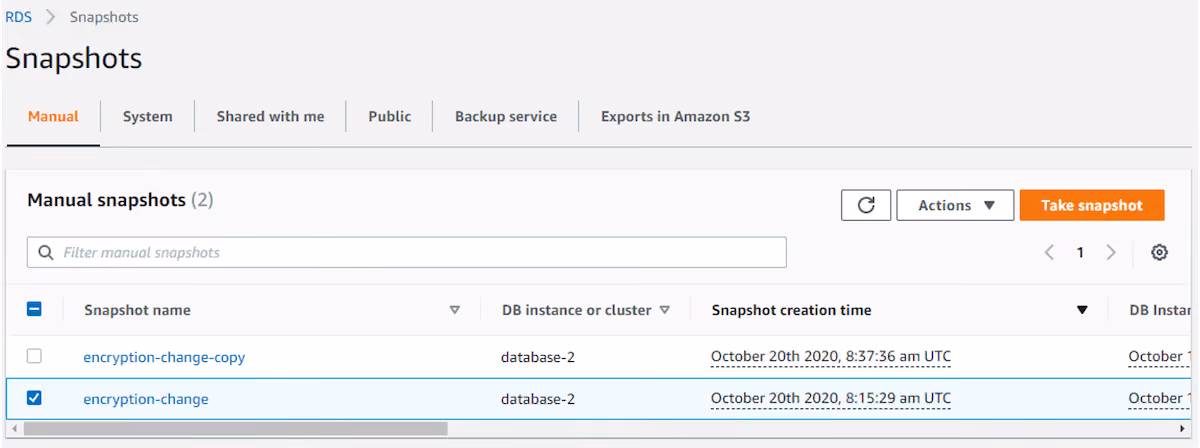
5. On the top right corner, click the "Actions" menu and click "Share snapshot."

6. In the "Snapshot Permissions" window, under 'Preferences', ensure that "DB snapshot visibility" is set to "Private."
Note: If your snapshot is to be shared with another AWS account, ensure that the account's ID is specified and added.
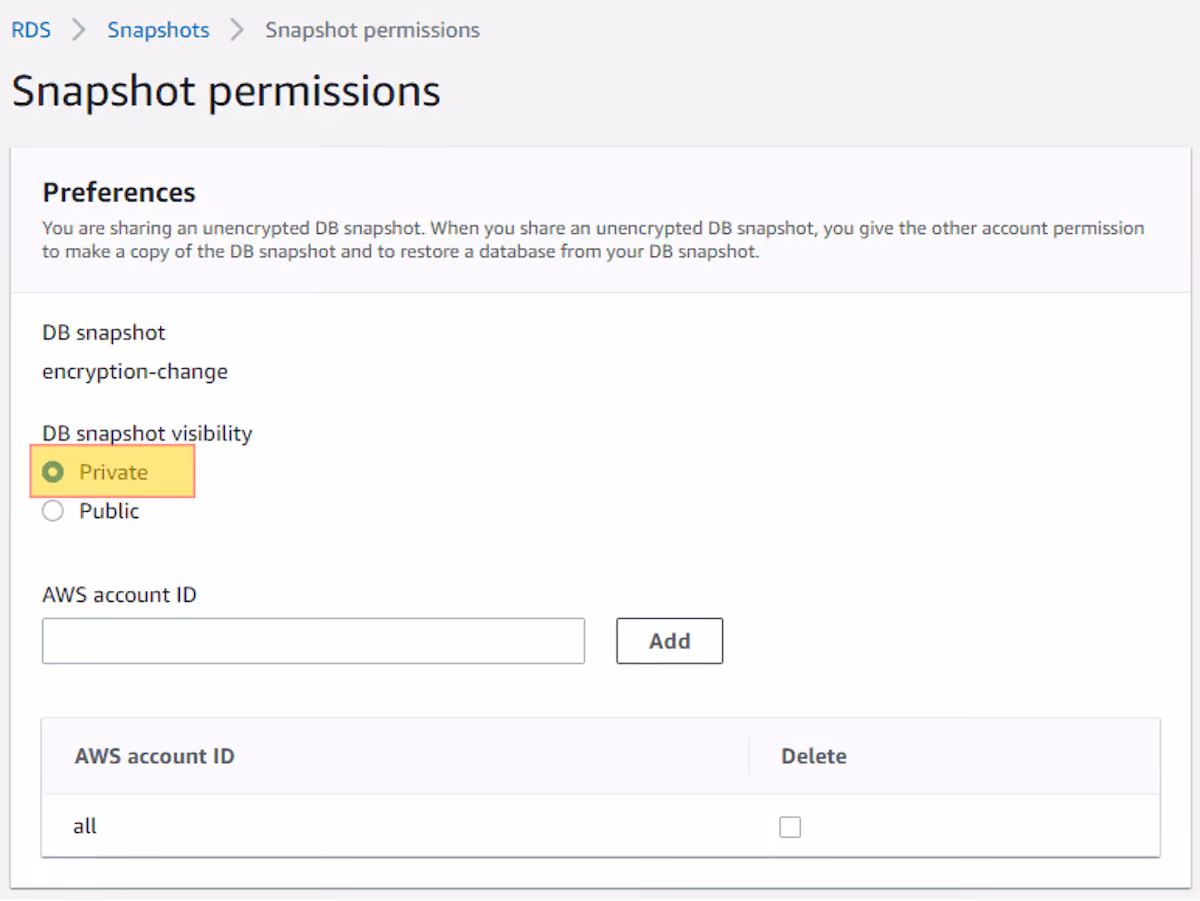
7. Click "Save."
8. Repeat steps 1 to 7 for RDS database snapshots in the current region and for other regions.
1. Using query filters, run the "describe-db-snapshots" command (macOS/Linux/UNIX) to list all manual database snapshots.
2. Check the output for names of required manual database snapshots.
3. Run the "describe-db-snapshot-attributes" command (macOS/Linux/UNIX) with a snapshot name and query filters to check the "AttributeName" attributes for the snapshot. If "AttributeName" is "restore," this attribute will return a list of IDs of the AWS accounts authorized to copy or restore the snapshot. If the value 'all' is in the list, the snapshot is public, and it will be available for any account to copy or restore.
4. Check the output for information on permissions to restore instances from the selected snapshot. If the returned "AttributeValues" value is "all," the snapshot is publicly accessible and available for any account to copy or restore.
5. Repeat steps 3 and 4 to verify access permissions for other snapshots available in the current region, but repeat steps 1 to 5 for snapshots in other regions.
6. The next step is remediation of publicly accessible snapshots. You have two options:
A.) Run a "modify-db-snapshot-attribute" command (macOS/Linux/UNIX) using the snapshot name (check output in step 2 to identify the snapshot) to remove permissions for restoring instances from the snapshot and to make it private.
B.) Check the output for permissions to restore instances from the selected snapshot.
C.) Repeat steps A and B to fully restrict public access to other snapshots in the current region, but repeat steps A to C for snapshots in other regions.
A.) Run the "modify-db-snapshot-attribute" command (macOS/Linux/UNIX) specifying "restore" as "AttributeName" and "ValuesToRemove" parameter to make the snapshot private (no output).
B.) Check the output for information on snapshot permissions.
C.) Run the "modify-snapshot-attribute" command (macOS/Linux/UNIX) to update permissions for restoring instances from the snapshot and make it accessible only from an allowed account.
The following example uses the "ValuesToAdd" parameter to authorize the account of ID 202203301234 for copying or restoring the snapshot (you can replace the account ID with your own).
D.) Again, check the output for information on snapshot permissions.
E.) Repeat steps A to D to restrict access to other snapshots to specific accounts only, but repeat steps A to E for snapshots in other regions.
After you have found and remedied all publicly accessible RDS instances and RDS snapshots, you will have eliminated a significant security exposure for your organization.
Instead of having to look up the specific command for each of these actions and then running them for each region, you could use a no-code tool like Blink to find and fix vulnerable resources in a couple clicks. Blink comes with pre-built automations for use cases just like this one, making it easy to enforce CloudOps best practices.
Blink is secure, decentralized, and cloud-native. Get modern cloud and security operations today.


.avif)